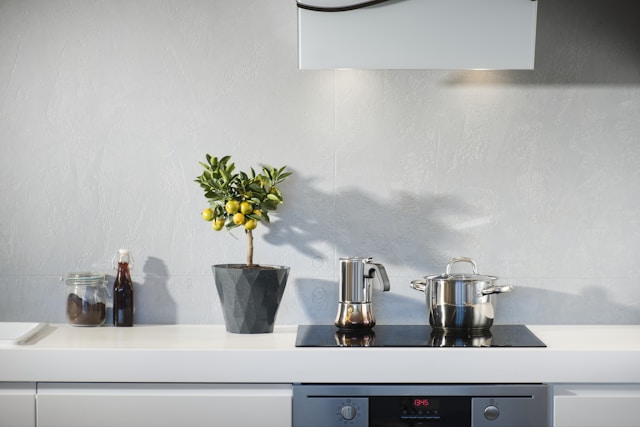
Home decor doesn’t have to be expensive to be stylish and personalized. With a little creativity and some DIY know-how, you can transform your living space without breaking the bank. Here are some budget-friendly DIY home decor projects that will add charm and character to your home.
1. Painted Mason Jars
Mason jars are incredibly versatile and can be used in various ways to decorate your home. One simple project is to paint them and use them as vases, candle holders, or storage containers.
Materials:
- Mason jars;
- Acrylic paint;
- Paintbrushes;
- Sandpaper (optional);
- Decorative ribbon or twine.
Instructions:
- Clean and dry the mason jars thoroughly;
- Apply a coat of acrylic paint to the outside of the jars. Let them dry completely;
- Apply a second coat of paint if needed for better coverage;
- For a rustic look, gently sand the painted surface to distress it;
- Tie decorative ribbon or twine around the neck of the jars for added flair;
- Use the jars to hold flowers, candles, or small household items.
2. DIY Pallet Wall Art
Create custom wall art using wooden pallets, which are often available for free or at a low cost from local businesses.
Materials:
- Wooden pallet;
- Sandpaper;
- Stencils or freehand design;
- Acrylic paint;
- Paintbrushes;
- Hanging hardware.
Instructions:
- Sand the wooden pallet to remove any rough edges and splinters;
- Choose a design or stencil for your artwork. You can paint inspirational quotes, images, or abstract designs;
- Apply paint to the pallet using stencils or freehand. Let each layer of paint dry before adding another;
- Once the paint is dry, attach hanging hardware to the back of the pallet;
- Hang your custom pallet art on the wall to add a personal touch to your space.
3. Fabric-Covered Bulletin Board
A fabric-covered bulletin board is both functional and decorative, perfect for an office, kitchen, or kid’s room.
Materials:
- Corkboard or foam board;
- Fabric of your choice;
- Staple gun or hot glue gun;
- Scissors;
- Ribbon or trim (optional).
Instructions:
- Cut the fabric to size, leaving enough excess to wrap around the edges of the board;
- Lay the fabric flat and place the board on top;
- Wrap the fabric around the edges of the board and secure it with a staple gun or hot glue;
- Trim any excess fabric;
- Optionally, attach ribbon or trim around the edges for a finished look;
- Hang the bulletin board and use it to display notes, photos, and reminders.
4. Floating Shelves
Floating shelves are a great way to add storage and display space without taking up floor space.
Materials:
- Wooden boards;
- Brackets or floating shelf hardware;
- Sandpaper;
- Wood stain or paint;
- Screws and wall anchors;
- Drill.
Instructions:
- Sand the wooden boards to remove any rough spots;
- Apply wood stain or paint to the boards. Allow them to dry completely;
- Attach the brackets or floating shelf hardware to the walls following the manufacturer’s instructions;
- Secure the wooden boards to the brackets;
- Arrange decorative items, books, or plants on the shelves to enhance your decor.
5. No-Sew Pillow Covers
Give your throw pillows a fresh look with easy no-sew pillow covers.
Materials:
- Fabric of your choice;
- Scissors;
- Fabric glue or fusible fabric tape;
- Pillow inserts or old pillows.
Instructions:
- Measure the fabric to fit your pillow inserts, leaving extra fabric for seams;
- Cut the fabric to size;
- Fold the fabric with the right sides facing each other and secure the edges with fabric glue or fusible fabric tape;
- Allow the glue to dry or use an iron to activate the fabric tape;
- Turn the pillow cover right-side out and insert the pillow;
- Fluff and arrange the pillows on your couch or bed for an instant decor update.
6. DIY Rope Basket
Rope baskets are stylish and functional for storing blankets, toys, or other household items.
Materials:
- Thick rope;
- Hot glue gun;
- Scissors;
- Cardboard (optional, for base).
Instructions:
- If you want a sturdy base, cut a piece of cardboard to the desired size and shape of the basket’s bottom;
- Begin coiling the rope tightly and secure it with hot glue as you go;
- If using cardboard, glue the rope coil to the center of the cardboard and continue coiling around it;
- Once the base is the desired size, start coiling the rope upward to form the sides of the basket;
- Continue gluing and coiling until the basket reaches your desired height;
- Cut the rope and secure the end with hot glue;
- Use the rope basket for storage and add a rustic touch to your decor.
Conclusion
DIY home decor projects are a fantastic way to personalize your space while staying on budget. With a bit of creativity and some basic materials, you can create beautiful and functional decor items that reflect your style. Try out these projects and enjoy the satisfaction of transforming your home with your own hands.


